Here is a copy of the e-mail sent to me by Matthew Paternoster, it should be of some help to any budding colorists out there.
Hello there, My name is Matt and I have recently been coloring some of the pages of the old action force comics on that blood for the baron website. Jamar Miller is who I've mainly been in contact with and he said that these two emails needed some help with how to color the black and white pages. This may be very wordy and I am by no means a pro, but it may help you out. I use photoshop so this will help for photoshop version 7.0 and up.
There are many tutorials on how to do it online but I think the best one is from steel dolphin. His name is Chris Alridge and has worken on many high profile books like Battle Chasers. There are 2 parts, one for prepareing the lineart and one for the actual color. I suggest you disregard the first tutorial, maybe just look over it as the images we are coloring arent rreally lineart. Whoever cleaned up these images did a phenomenal job, but the resolution isn't nearly as high as lineart should be. Professional lineart should be at a minimun 1200dpi (dots per inch), these images are only at 300 dpi, which is fine to be posted on the internet. Anyway, the tutorial says to go into channels to do the coloring, but that is only to reduce the file size. A page scanned at 1200 dpi can be up to 150 megabytes, which can drastically slow you PC(it doesn't matter if it mac or PC, I use a PC). When the file is first opened, it will be a .jpg file, which is a basic image file. The first thing you want to do is change it from grayscale to RGB(color) mode. So go to image-mode-RGB. On the right side, there will be your layers window. There should be one layer named background on it, which is the black and white image. Click on the background layer and make a copy of it (ctrl-j). There should now be layer 1 and background. We do this because you shouldn't work directly on the original layer. Then, we want to make a new blank layer. The layer window has its own minimize/close box and right under that there is an arrow, click on it and the go to new layer, or press shift-ctrl-n. Name that layer color. Then, click that layer to select it(it should be highlighted blue to show it is selected) and wherethere is a drop down arrow box, select it to multiply. This will allow you to put the flat color down without having to worry about going over the black-just try it with the paintbrush tool-but make sure you are on the layer named color! To color them, I use a tablet which has a little pen on a plastic mousepad and it senses the pen so it is like a mouse, but using the mouse is ok too. You could do this for the entire page, which would make it look like a hand painted retro comic.
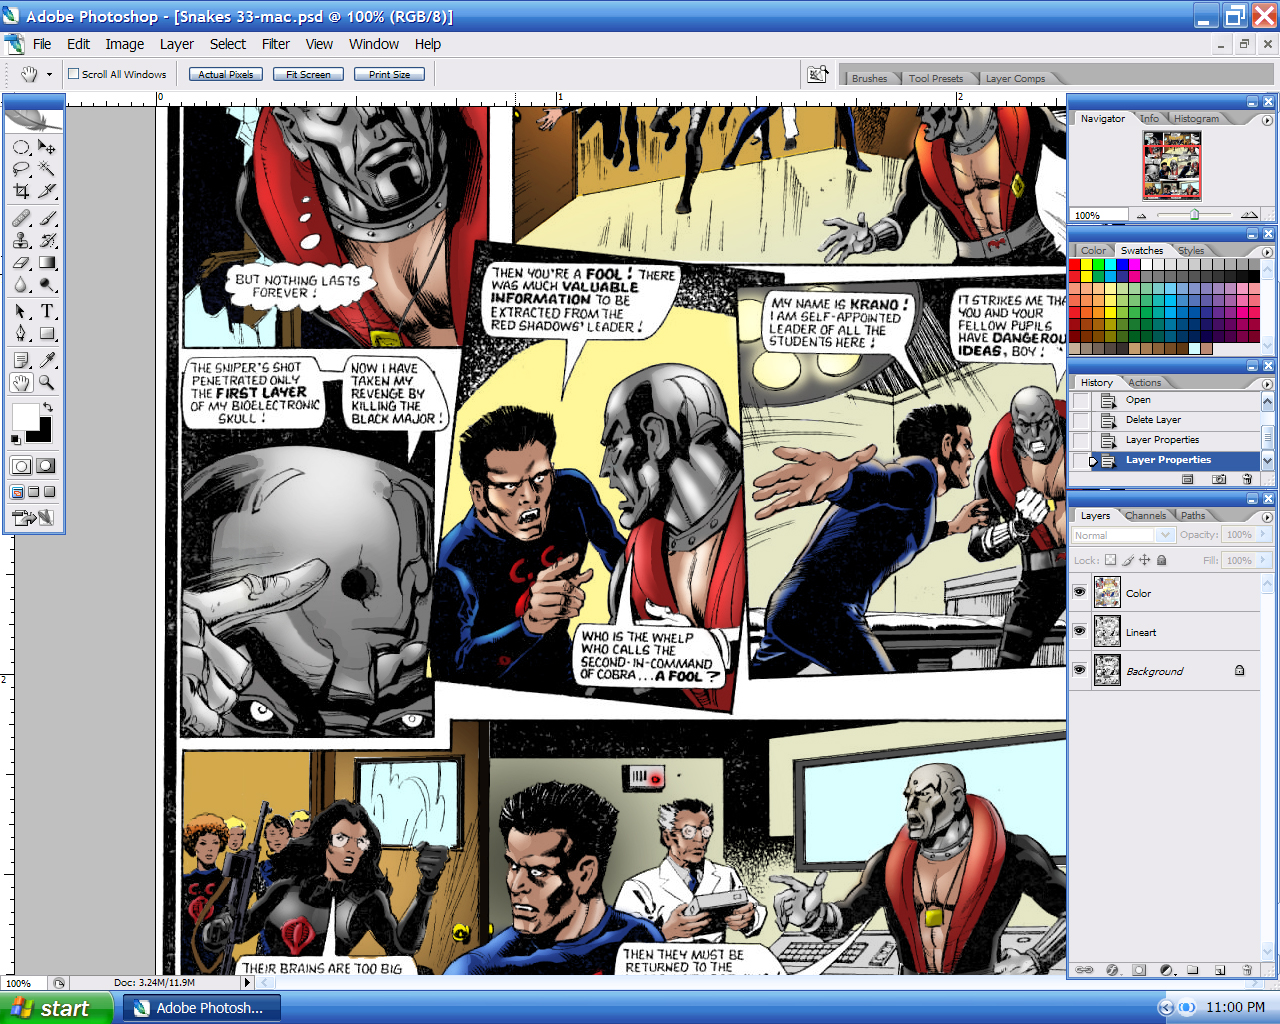
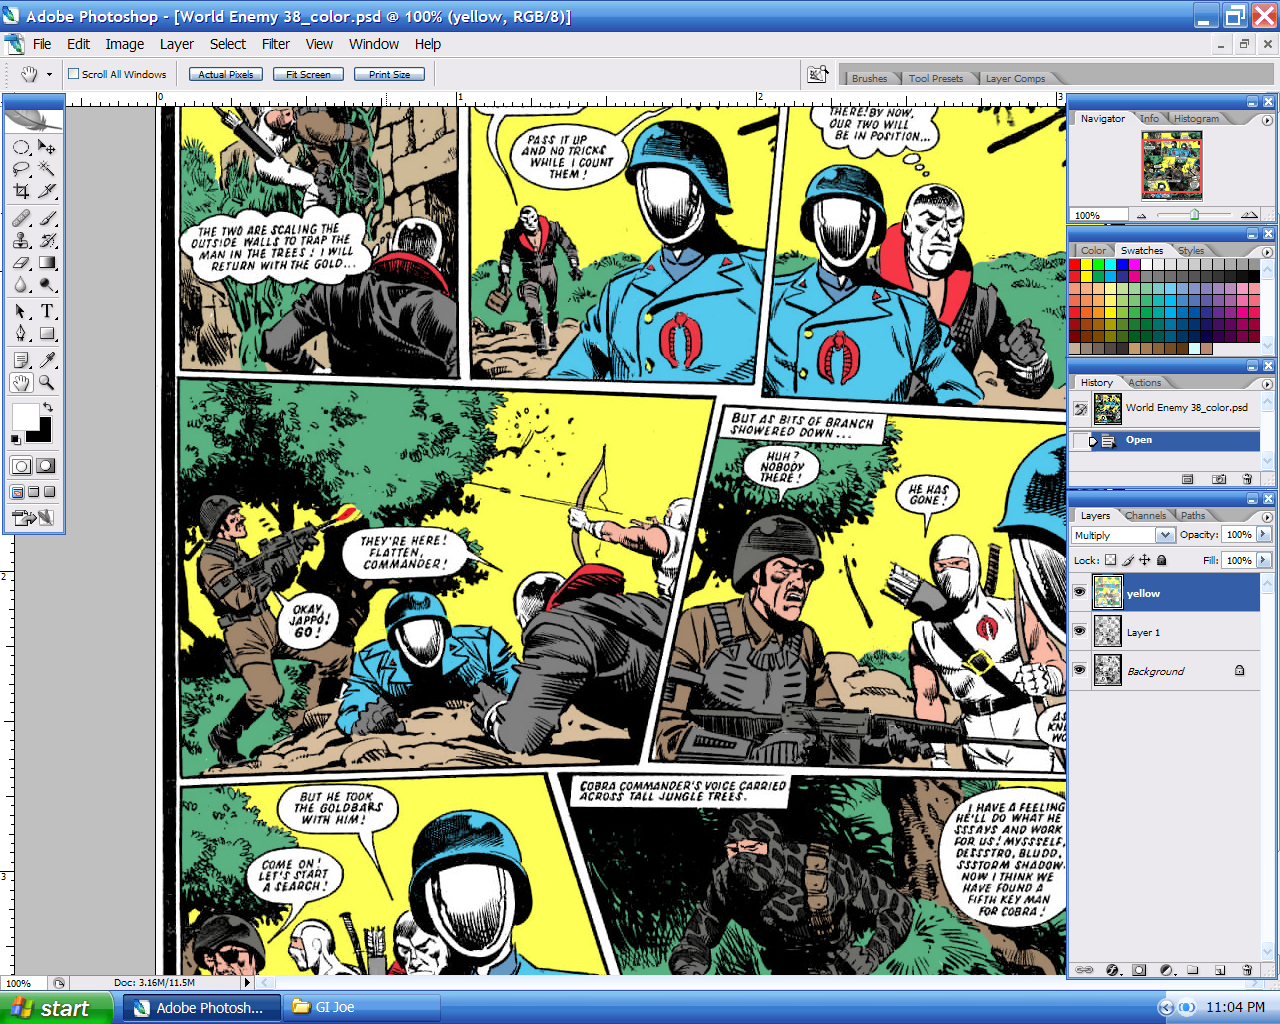
The next step is illustrated and probably told better than I could tell because I am a horrible writer, but it is very good. Basically all you need to know is where the light is coming from and what color that light is. For example, a blinking emergency light could be red, which you would make a red highlight on the character, or there might be daylight which would be a pale yellow on the character. Below are the links to the tutorials, and I have attatched 2 images of my computer screen to see what they look like. I apologize for this being so wordy but I don't know your photoshop skill or even if you have photoshop! Jamar just sent me these email addresses and said you were dying to know hot to do it. If you have any questions just email me but remember, I am not a pro, just a college student. Also, you can check my deviant art page if you'd like, I did a cool version of a cobra ninja:
http://livetoski.deviantart.com/
http://www.steeldolphin-forums.com/html ... part1.html
http://www.steeldolphin-forums.com/html ... part2.html
To summarise:
01 Select image> mode> RGB
02 On the layers window, click on the background layer and hit Ctrl-J
03 Press Shift-Ctrl-N, name that layer Colour.
04 On the Layers window drop down menu, select Multiply.
05 Save as .tiff